High and low temperature test chamber acceptance method
1.1 Anemometer: Anemometer with induction not less than 0.05m/s 1.2 Thermometer: Temperature measurement system consisting of platinum resistance, thermocouple or other similar temperature sensor and meeting the following requirements: sensor time constant: 20S~40S; Extended uncertainty of temperature measurement system (K=2): no more than 0.4°C
1.3 Surface thermometer: A measurement system consisting of platinum resistance or other similar sensors and meeting the following requirements: sensor time constant: 20S~40S; extended uncertainty of temperature measurement system (K=2): not more than 1.0°C
2. Test conditions 2.1 Test Under the no-load condition 2.2 When the cooling rate test is carried out, the ambient temperature should not be higher than 25 °C, and the cold power temperature should be no higher than 30 °C.
3. Temperature test method 3.1 Location and quantity of test points 3.1.1 The test level of the test chamber is to determine the upper, middle and lower horizontal test surfaces, referred to as the upper, middle and lower layers, and the distance between the upper layer and the top surface of the studio is The height of the studio is 1/10, the middle layer passes through the geometric center of the studio, and the lower layer is 10 mm above the lower sample rack of the Zui.
3.1.2 The test points are located on the three test faces, the center test points are located in the geometric center of the studio, and the distance from the other test points to the studio wall is 1/10 of the length of each side, but the volume of the studio is not more than 1 cubic meter. Test box, the distance is not less than 50mm
3.1.3 The relationship between the number of test points and the volume of the studio is: when the studio volume is not more than 2 cubic meters, the test point is 9; when the studio volume is greater than 2 cubic meters, the test point is 15; When the volume is greater than 50 cubic meters, the number of temperature test points can be increased appropriately
4. Test procedure 4.1 Within the adjustable range of the test chamber temperature, select the high nominal temperature of zui and the low nominal temperature of zui 4.2 to call the test box to run at the low temperature and high temperature, and the temperature at the center of the working space reaches the test temperature. Stable 2H, test the temperature of all test points 1 time in the first minute within 30 minutes, a total of 30 times
5. Data processing and test results 5.1 The measured temperature data is corrected according to the correction value of the test instrument. 5.2 The suspicious data is excluded. 5.3 The average temperature of the measured value of 30 points per point is calculated for the data measured in the constant temperature phase. Temperature gradient: temperature average value zui large value minus temperature average value zui small value 5.5 calculation temperature fluctuation, temperature deviation 5.6 The difference between the set value of the test box control instrument and the central test value should meet the tolerance requirement.
6. Test method for temperature difference between working chamber wall and working space 6.1 Placement and quantity of test points. 6.1.1 Place a temperature sensor in the center of the working space, and place a surface on the geometric center of the inner wall of the six sides of the working chamber. Temperature sensor 6.1.2 If there is a lead hole or other device in the center of the working chamber wall, the distance between the test point and the hole wall or other device should be no less than 100mm.
6.2 Test procedure 6.2.1 Within the adjustable temperature range of the test chamber, select the high nominal temperature of zui and the low nominal temperature of zui as the test temperature. 6.2.2 Temperature at the geometric center point of the working space* times to reach the test temperature and stabilize 2H Test the temperature value of all test points once every 2 minutes, and measure 5 times. 6.3 Calculation and evaluation of test results 6.3.1 The temperature value of the test shall be corrected according to the correction value of the test instrument. 6.3.2 Calculate the temperature of each test point separately. The arithmetic mean of 6.3.3 calculates the percentage difference between the studio wall and the thermodynamic temperature of the studio.
7. Test method for rising and cooling rate 7.1 Test point is the geometric center point of the working space. 7.2 Test procedure 7.2.1 Within the adjustable range of the test chamber temperature, select the low nominal temperature of zui to be the specified temperature of zui, and the high nominal temperature of zui is Zui high specified temperature 7.2.2 to open the cold source, so that the test chamber is lowered from room temperature to the low temperature specified by Zui, stabilized 2H, adjusted to the high temperature specified by Zui, and the temperature of the test chamber is raised from 10% to 90% of the temperature range; Allow the test chamber to stabilize 2H at the high temperature specified by Zui, and then adjust to the low temperature specified by Zui, and measure the temperature of the test chamber from 90% to 10% of the temperature range.
7.2.3 Record the temperature value once every 1 minute during the heating or cooling process
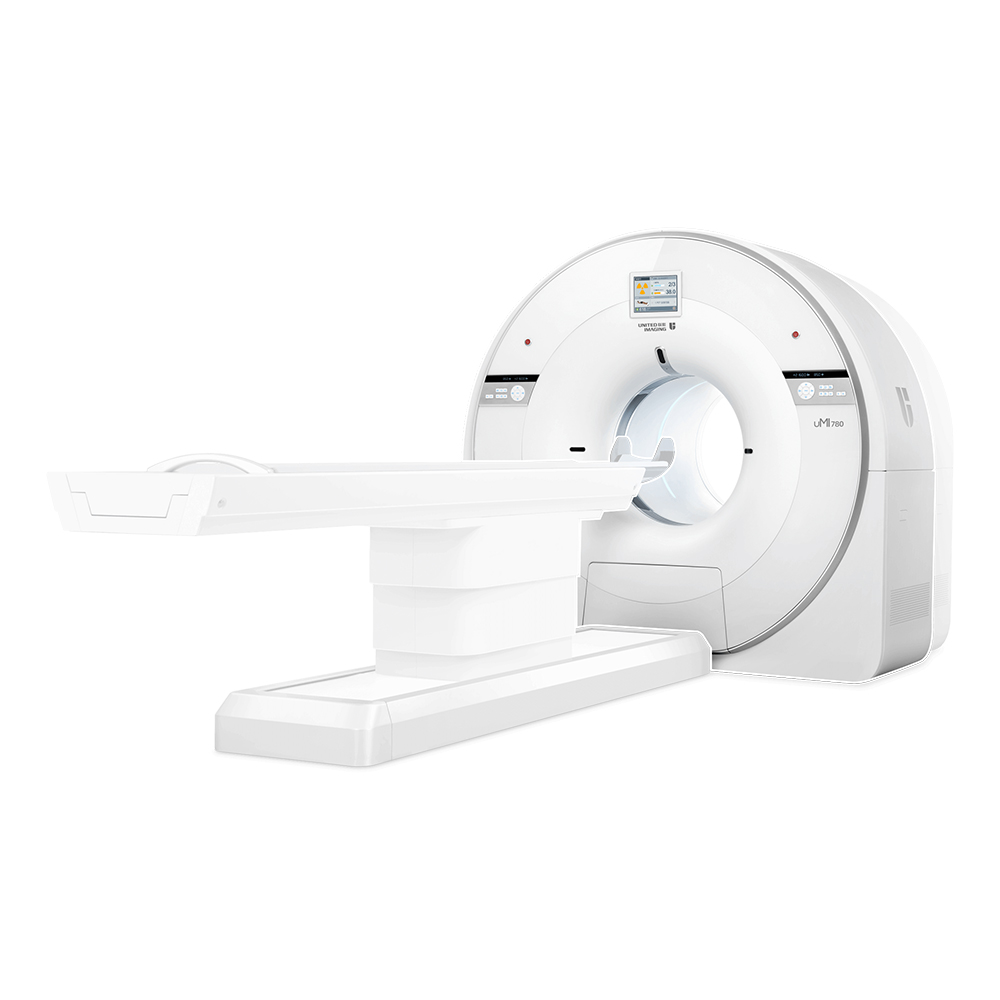
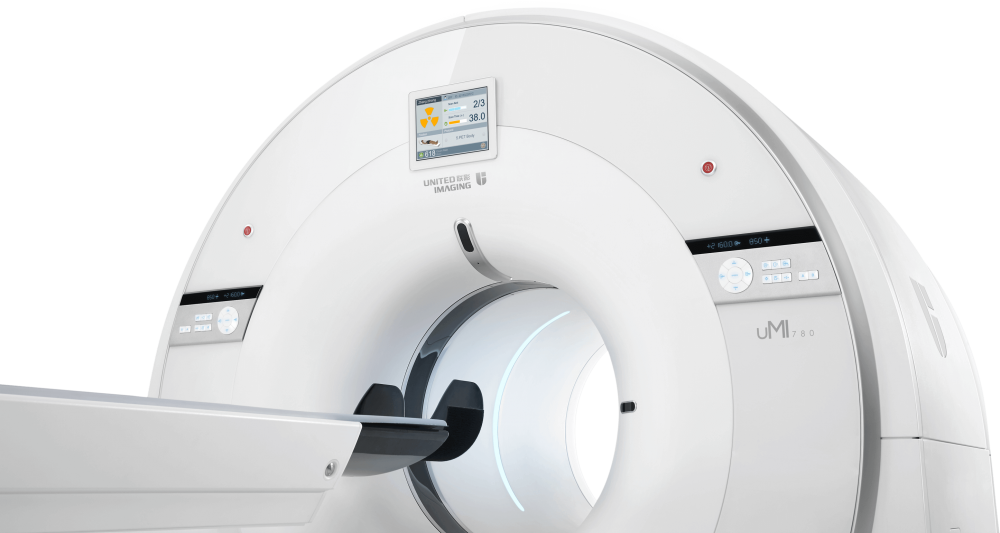
A CT scan makes use of computer-processed combinations of many X-ray images taken from different angles to produce cross-sectional (tomographic) images (virtual "slices") of specific areas of a scanned object, allowing the user to see inside the object without cutting.
Digital Radiography made affordable, Created to meet the needs of community to hospitals and private radiology practices, it enables the price-sensitive customers to join the drive to go digital.The versatile floor mounted radiography system enables you to go from film to CR to DR.Flooe-mounted easy for installation and operation
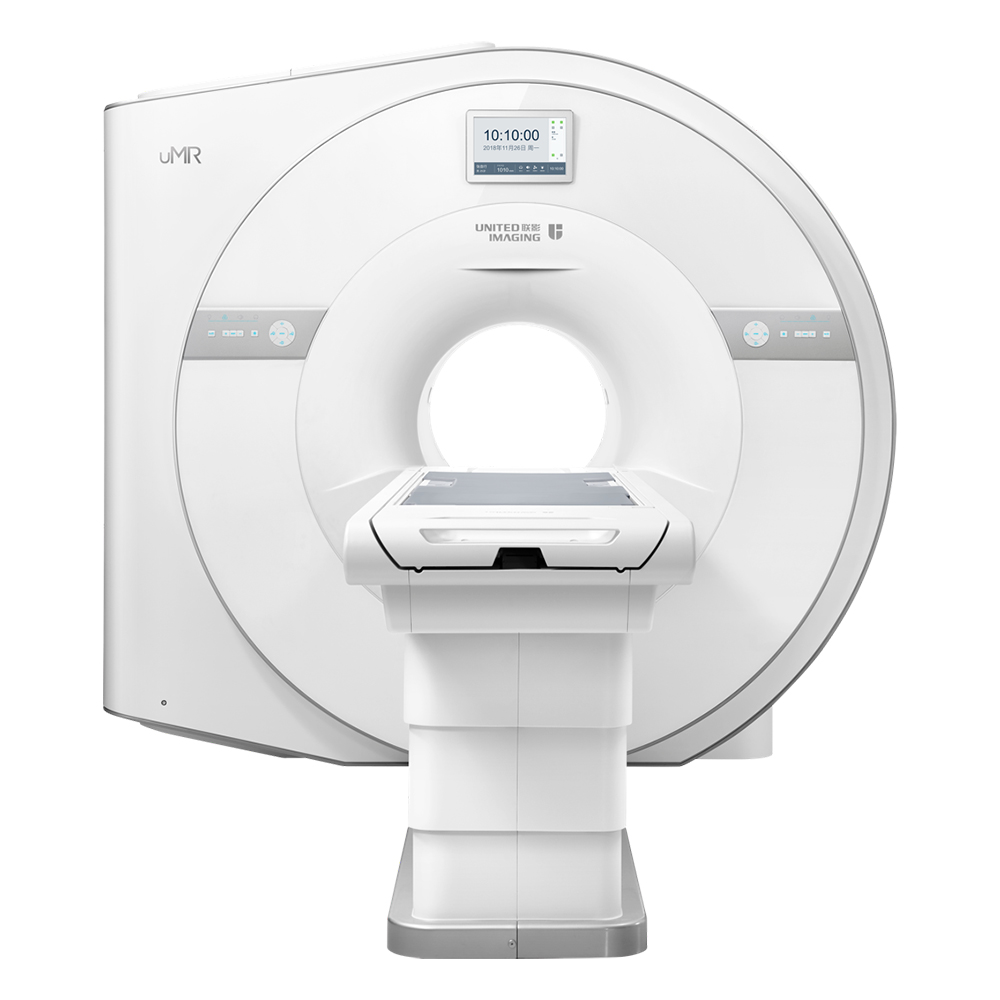
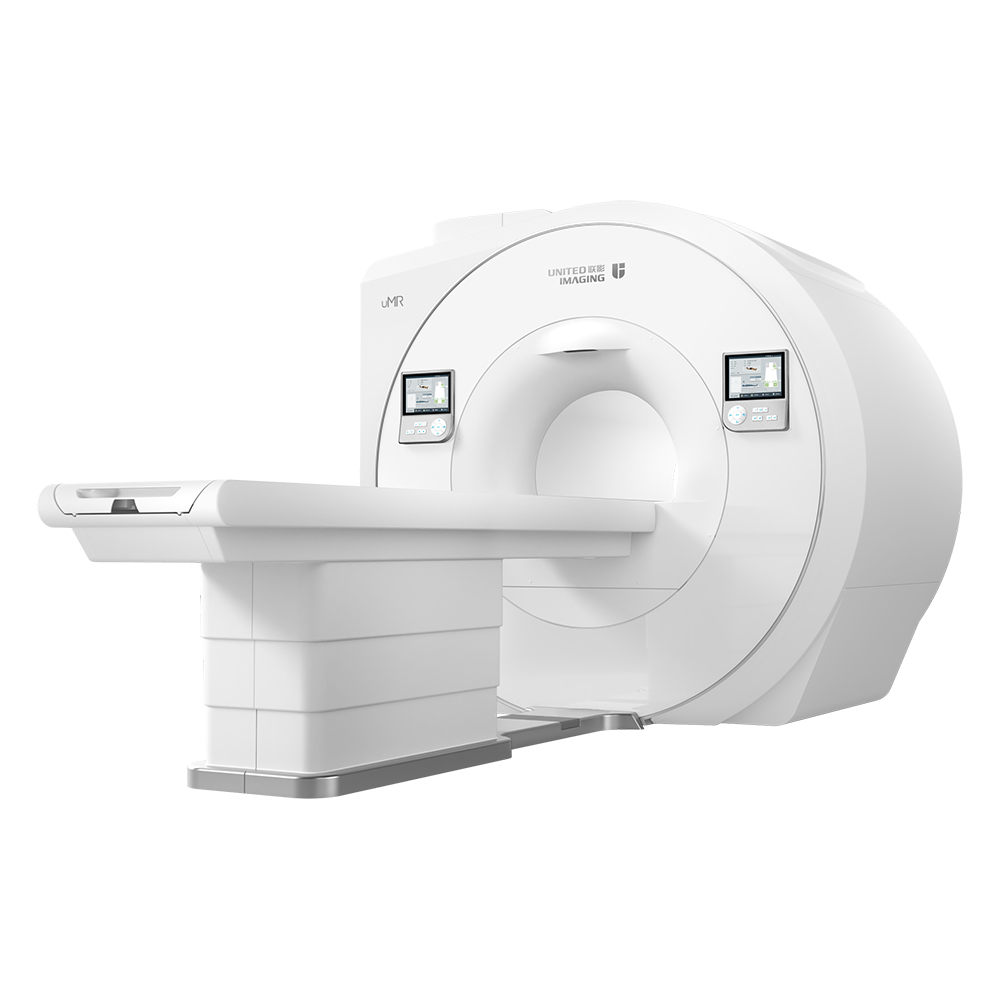
The United-imaging is floor mounted system comprises a radiographic table with integral floor guide rail and a wallstabd. Requiring little room preparation, it is easy to install.
United-imaging according to the international advanced processing mode and standardlize design. the parts are made with precision CNC machine and moulding. Which adopt high degree of standardized, reasonable and compact structure. With reliable, durable and elegant appearance and advanced processing technology.


Computed Tomography,Medical Computed Tomography Scanning Machine,Medical Ct Scanner,Computed Tomography In Ct Scanner
Shanghai Rocatti Biotechnology Co.,Ltd , https://www.ljdmedical.com
